It’s no secret that paid search bid automation gives practitioners the flexibility to explore more data-driven tactics beyond the realm of bidding, sparking new conversation paths with clients or stakeholders. But the million-dollar conversion question is this: are you bidding on the conversions that provide the most value or garner the highest margin?
If the answer is anything but a resounding, informed “YEEEAHH” then stay tuned to this multi-part blog series to learn how to segment the conversions you’re already winning, and to bid to those that are considered more valuable using Search Ads 360 (SA360).
In doing so, I hope that this will help reinforce how silo-busting -- between what appears as tactically disparate teams -- can ultimately lead to better data for all, smarter actions, ROI lift and most importantly, energetic fist-pumps (can we high five yet?).
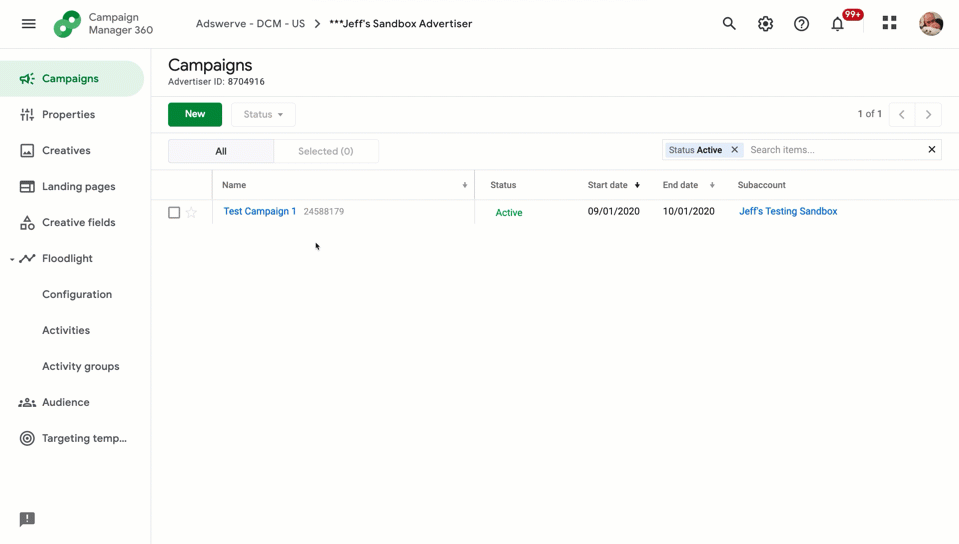
But before you can begin the setup inside of SA360, you need to be sure that the proper elements are in place within Campaign Manager, where Floodlights are created to capture conversions.
Campaign Manager Setup
What provides us the ability to segment conversions in SA360 is dependent on there being a Custom Floodlight Variable (CFV) enabled within the Campaign Manager’s Floodlight Configuration. A CFV is a user-definable parameter that can be utilized to capture additional information through your Floodlight Tag at the time of conversion. What you can capture is limited by only two constraints:
- That the information captured is not considered PII (the biggest no no!)
- The desired information must be available on the webpage when the Floodlight tag fires (can’t capture what’s not there!)
Aside from these restrictions, you can get really creative about what additional valuable information you’re ingesting at the time of conversion. Let’s say:
- An e-commerce retailer is interested in knowing if the purchase was made by a new or existing customer, or;
- A direct marketer wants to know the name of the product or offer the user had indicated interest in, or;
- An auto dealer wants to know what specific make/model webpage the user was on when they completed a sales form, or;
- An airline wants to score its customers based on known lifetime value (LTV), and use data modelling to assign a predicted lifetime value (pLTV) to future conversions (we actually did this for a major airline).
In all these examples we’re able to draw additional context from the conversion action which, without CFVs, we wouldn’t be able to effectively deduce. Herein lies the intersection between action and intent that separates paid search proficiency from paid search mastery.
Step 1
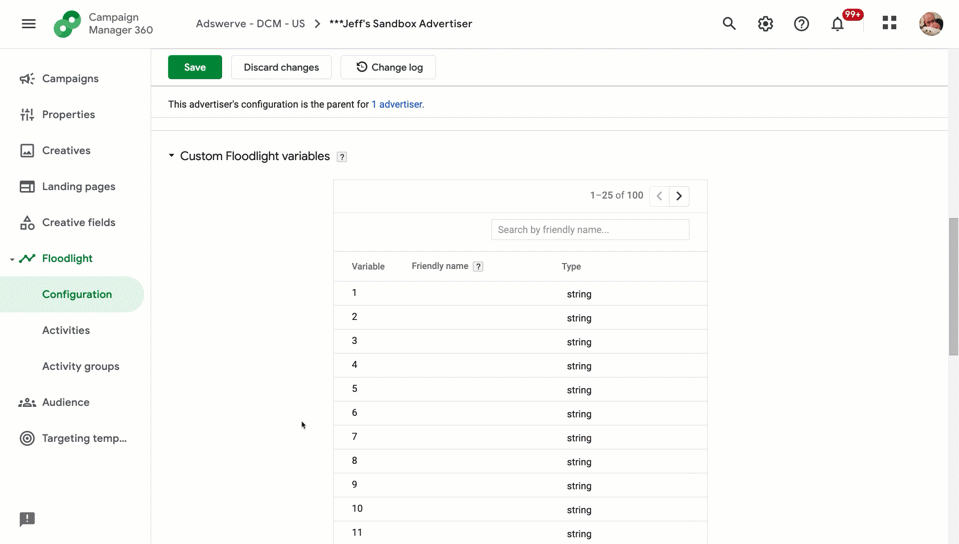
To begin, you need to modify the Floodlight configuration within the Campaign Manager advertisers’ settings. Within the Floodlight configuration tab, scroll down to the Custom Floodlight Variables tab, which is blank initially. You’ll see that you can create each of the custom variables that you’d like to implement in your Floodlights.
Pro tip: these are simply names of the variables that we’re specifying at this stage, and should describe the type of data we’re wishing to collect. It’s important to be both descriptive and concise.
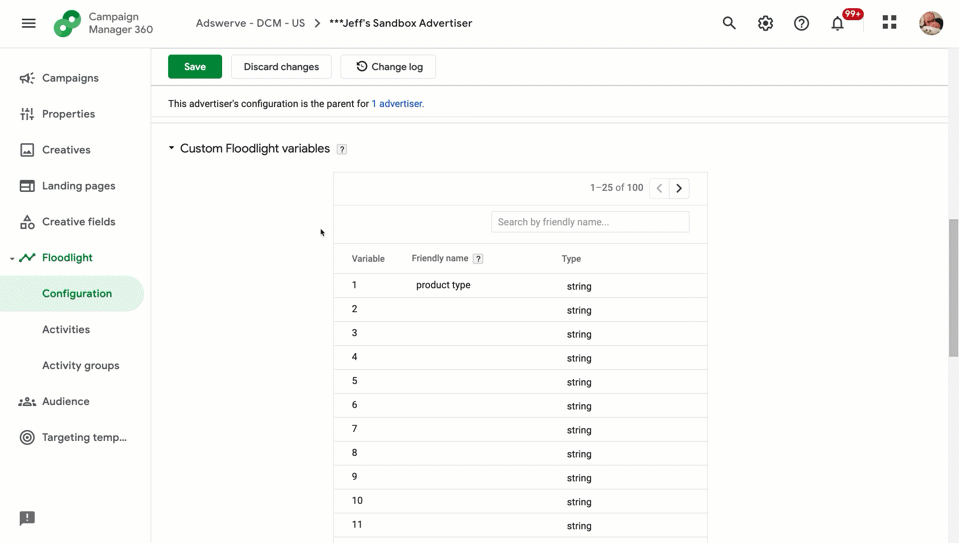
Using the direct marketer example above, we’ve chosen to create a CFV for “product type” that will indicate the type of product that the user had signaled interest in via the conversion action. Having now re-saved the configuration, you can enable the use of this CFV within any new/existing Floodlights you’ve created.
Pro tip: when adding/modifying CFVs within existing Floodlights, the Floodlight will need to be re-implemented.
Step 2
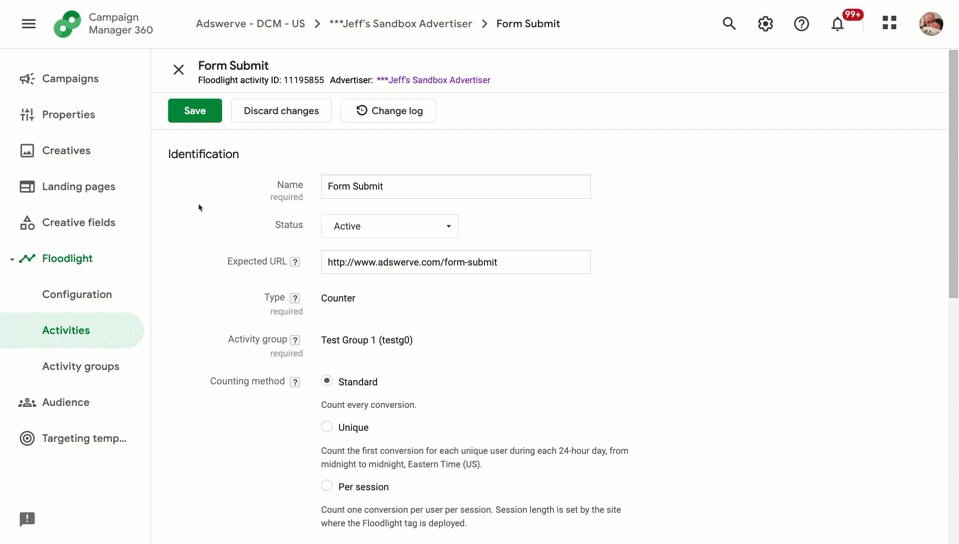
Next we move from the Floodlight Configuration section and scoping into the Floodlight that’s implemented on a form submit page. Here, you can see that the CFV is available for this Floodlight to utilize. After saving the Floodlight, you can now begin the implementation, which is where things start getting magical.
Pro tip: each individual Floodlight can use some or all of the Custom Floodlight Variables you create.
Step 3
I’m not going to cover the implementation of the Floodlight itself in this article. However, I want to mention the mandatory requirement that the Floodlight be modified by a web developer or admin to ensure that the Floodlight is actually able to collect the information you intend to. I state the obvious here because if you look at this example Floodlight tag, you can see that the CFV (“u1” in this case) is simply referring to the name of the variable, which does nothing when implemented in a live environment.
Pro tip: The Floodlight Preview tool is especially useful when tags are being sent directly to Google Tag Manager (GTM), and gives you an idea of the tag composition before pushing to the container.
This is precisely what the web developer needs to modify in order for the Floodlight to actually capture the correct value corresponding to “product type” for the u1 CFV. The name of the variable as we defined it in Campaign Manager will persist, and is what will be shown in reporting.
Once the Floodlight has been implemented and is live on the site, you can now begin validating that the data from your CFV is being collected as expected. Do this by running a Floodlight report from Campaign Manager’s Report Builder tool, and making sure to include the CFV as a metric.
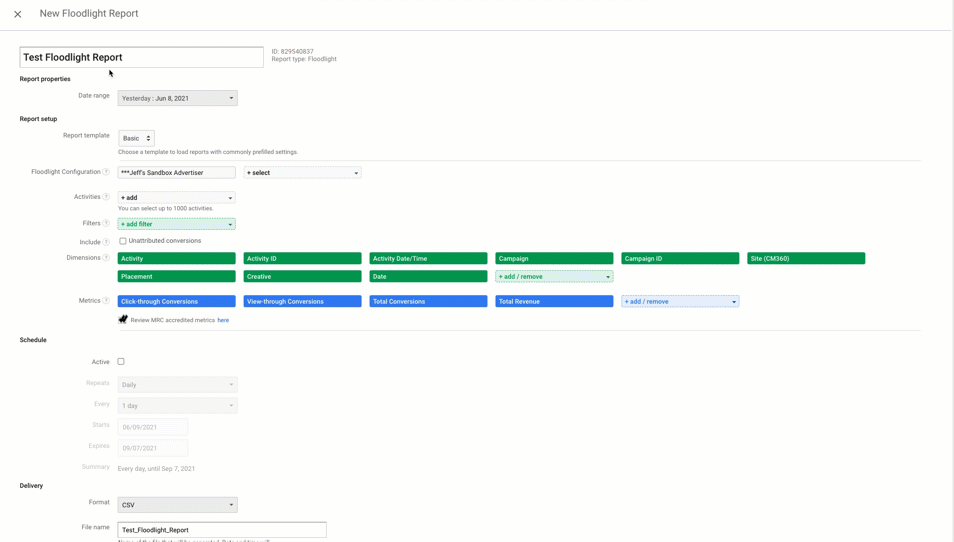
Pro tip: Floodlight conversions can take up to six hours to show in reporting, so plan for this when testing and running your reports.
The report output will confirm one of two scenarios:
1) The values are not passing as we’d expect, meaning more troubleshooting
2) The values are passing properly, allowing us to all go out for happy hour because the hard part is now behind us

Pro tip: Scenario two is highly preferable to scenario one
What's Next
With all the right pieces in their places, you’re now at a point where you’re able to take action on this data. This is where SA360 comes in, and where we’ll pick up on in Part 2 of this series.
In the meantime, if you want to begin working on a new conversion segmentation strategy to get the most of your search efforts, we’d be happy to provide a free consultation. Contact us today!